| Random files - Projects |

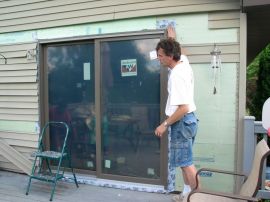
This is my door!
|
|

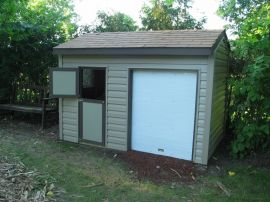
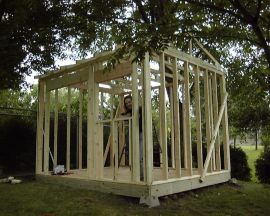
Walls being builtWe started building the garage on the driveway. This picture was taken while working on the walls. We used a pressure-treated 2x4 sole plate which will rest directly on the ground, and 2x2's for the wall framing. 2x2's were used to help keep weight and costs down, and becuase they should be more than sufficient for this use.
|
|

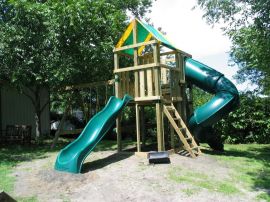
Starting outWe started on a rainy Tuesday, fortunately mostly working in the garage. The plans gave a detailed "cut list" and we cut out and labeled all the pieces, as well as rounded over the edges with a router for safety. In this picture, you can see one of the framing pieces after assembly, some of the smaller cut-outs, and the slide. The huge box is the "Turbo Slide", which you'll see coming up.
|
|

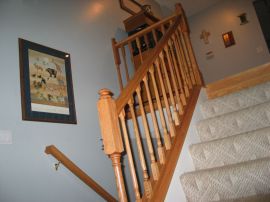
Stairs go upPlacing the stair stringers up.
|
|