| Most viewed - Building Our Shed (2003) |
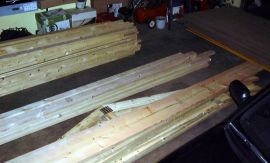
Lumber Stash1210 viewsAnother photo of the "lumber stash". You can see the large pile of studs, pile of roof trusses and header boards, and the big pile of roof sheathing and siding.
|
|
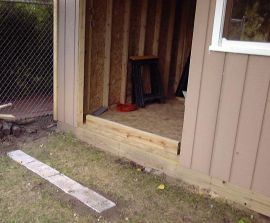
Ramp Foundation1210 viewsThe next task was for Tim to set out and complete the ramp for the shed. The first step was to create a level foundation for the far end of the ramp. For this, we used patio blocks, placed over a limestone base and placed and leveled so the end of the ramp would rest on them and have a solid surface.
|
|
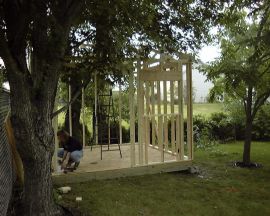
Cleanup1183 viewsThe intensity of the rain increased quickly, so I snapped one final picture of Cathy bringing in the last of the tools and supplies. Now that framing is essentially complete (other than the gable framing mentioned above) the next task is to hang the plywood siding and roof sheathing.
|
|
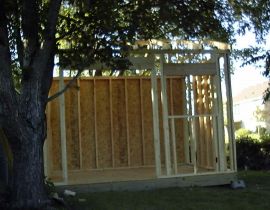
Back finished1172 viewsHere's a view from the front, which has yet to be sided. Having the back wall finished definitely makes the shed start to look more complete. With just the two of us working, it was a bit tricky at first to position each panel and get it hung in the proper place, be we got better at it as we went along.
|
|
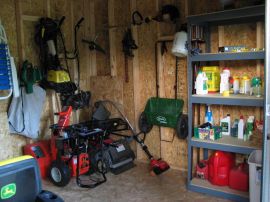
Inside the Shed1164 viewsOne last view of the shed, this time looking to the right of the tractor. This shed freed up some much-needed storage space in the garage, and we are able to easily get to all the tools and equipment now.
|
|
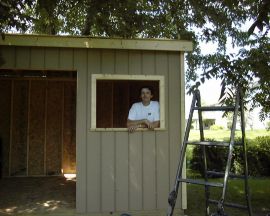
Window Trimmed1150 viewsTim shows off the completed window trim. We had to replace a window in our old home as part of the sale conditions. We salvaged part of it, and this will become our shed's window. The door will receive similar treatment, but we're holding off to finish it until we receive the door and can verify proper dimensions. After this picture was taken, we did a lot more work without pictures. The roof was finished and shingled, the window Tim is standing in received its glass, and the soffits were completed.
|
|
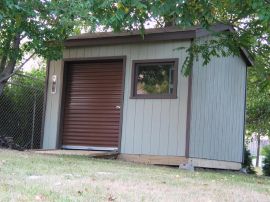
Finished Product1084 viewsThe final step was to paint all of the trim dark brown, again to match the trim on our home. Here, you see a view of the finished shed!
|
|
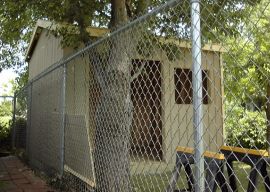
Siding Complete - West Side1031 viewsHere's another view from Bailey's run. Here you can see how the gable was framed out further from the truss so there is a slight overhang. The fascia boards are also installed, but the soffit boards are not.
|
|
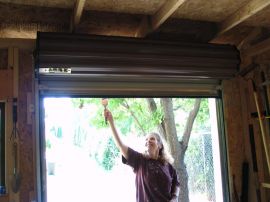
Inside View of Door1014 viewsHere's a view from inside the shed of Cathy working on the priming. Here you can also get a good view of the roll-up door in its rolled position.
|
|
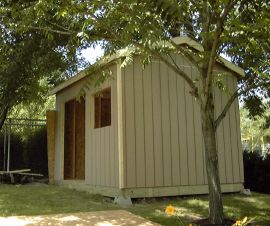
Siding Complete989 viewsThis pictures shows all of the siding installed, including the gables, which was a bit tricky. It also shows one of the corners trimmed out.
|
|
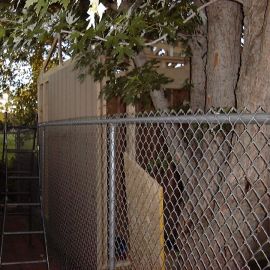
West Side957 viewsHere's a view of the side of the shed, from inside Bailey's run. Having the shed this close to the fence makes for some tricky work. We had hoped to side the wall before we set it up, but the way the walls are staggered didn't allow for this. At the time this picture was taken, we had one panel of siding to go on the front, and the partial panel left to go on the side you see here, as well as the gable ends, which also need to be framed out so there is a slight overhang.
|
|
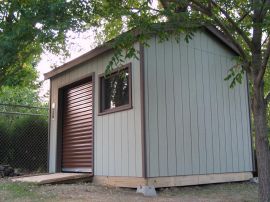
Finished Shed906 viewsAnother view of the finished shed from a side angle. Eventually we will add some landscaping to soften the edges and foundation of the shed.
|
|
|
|
