| Top rated - Projects |
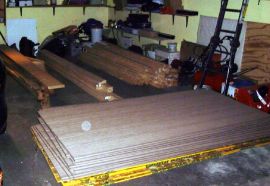
Building MaterialsHowever, the following weekend was our "framing blitz". We prepared for it Thursday by picking up a ton of building materials at Menards. Here is a photo of many of the building supplies sitting in our garage Thursday night. Sorry for the poor quality -- the digital camera we had at this time took lousy flash photos.    
(1 votes)
|
|
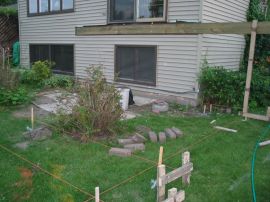
Ledger BoardThe new ledger board was then placed, so it could be used as a reference for the new footings.    
(1 votes)
|
|
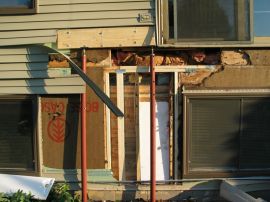
Rot repairAfter some research we supported the joist, rebuilt the wall below, and patched in a new section of joist.    
(1 votes)
|
|
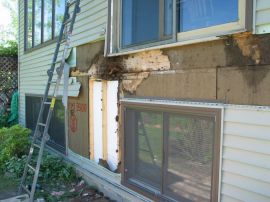
Rot problemAfter removing a lot of siding and sheathing, we found the rot extended all the way to the foundation, directly under the left side of the patio door.    
(1 votes)
|
|
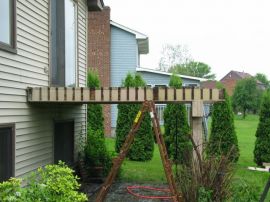
Railings GoneThe railings have been removed.    
(1 votes)
|
|
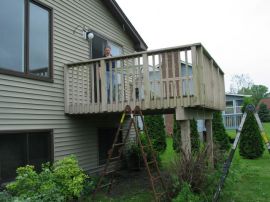
Removing the RailingsThe rose bushes have been removed, and the railings are next.    
(1 votes)
|
|
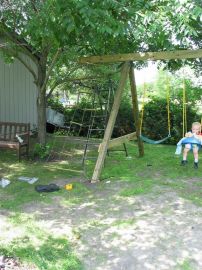
Cargo NetAt the end of the swing beam is a cantilevered section that we were originally going to leave out because we didn't think we had the space. We ended up having space and left it in. Due to the proximity of the tree, we couldn't put in a disc or tire swing like the plans called for. At first we were going to just leave it 'blank' and reserve it for a future 2-person glider swing once more kids come along. But instead, we decided to make our own "cargo net" climber and attach it there in the meantime.
Aug 2011 update: This "temporary" cargo net became somewhat permanent. I had intended this to last 2 or 3 years and then put in the double-glider as mentioned above. But the kids really like this cargo net. Today it officially wore out, and rather than putting in a glider, I actually rebuilt it with new rope. It's hard to say if we'll ever get the glider at this point :)     
(1 votes)
|
|
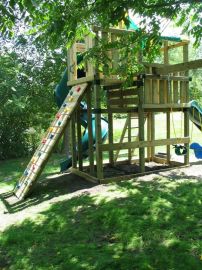
Back sideView from the back, showing the rock wall and swings (which we had clamped in the picture as they were a little compressed from the box. Under the tower we will be adding a sandbox and small "ball tent" area.    
(1 votes)
|
|
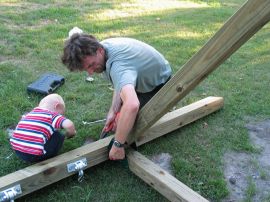
Attachment difficultiesTim has a minor difficulty getting the bolts lined up with the T-nuts on top the swing beam. William checked things out, offered his advice, and we were back on track.    
(1 votes)
|
|
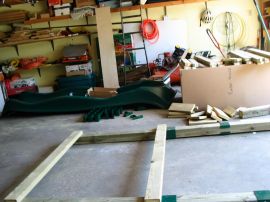
Starting outWe started on a rainy Tuesday, fortunately mostly working in the garage. The plans gave a detailed "cut list" and we cut out and labeled all the pieces, as well as rounded over the edges with a router for safety. In this picture, you can see one of the framing pieces after assembly, some of the smaller cut-outs, and the slide. The huge box is the "Turbo Slide", which you'll see coming up.    
(1 votes)
|
|
|
|
