| Most viewed - Projects |
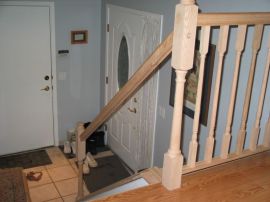
698 viewsInstalling the upper railing proved to be tricky. Getting the length and miter cuts just right required a lot of careful measuring. We practiced with a 2x4 stud and thought we had the technique down. However, we messed up, cutting one of the miters the wrong direction. Since this rail is $6.60/linear foot, we thought this was going to be an expensive mistake. Fortunately, Home Depot gave us credit for the remaining length, so we were only out one foot, and did it correctly with the replacement rail.
|
|
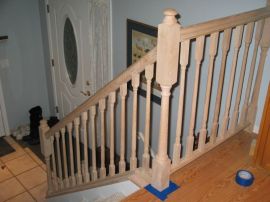
Completed rails before finishing693 viewsThe completed railing system! This picture was taken right before the stain went on (hence the masking tape in the picture).
|
|
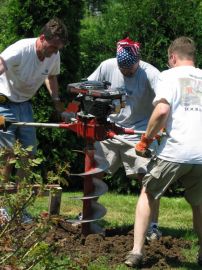
Digging the Footings691 viewsWith the help of some friends on a very hot day, we completed the holes for seven footings.
|
|
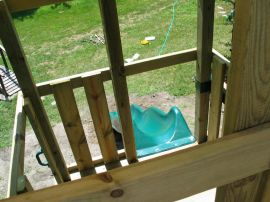
View from "the penthouse"687 viewsHere's the bird's eye view from the top deck. To the left of the camera is the entrance for the turbo slide, and behind the camera is the rock wall.
|
|
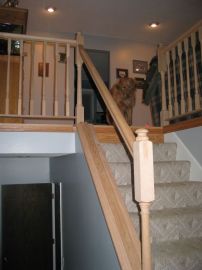
Angled handrail in place673 viewsHere's a view from the entryway of the installed upper railing. We were quite relieved to have this piece installed properly!
|
|
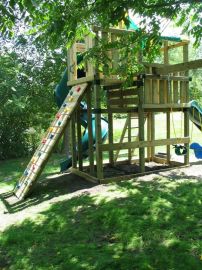
Back side668 viewsView from the back, showing the rock wall and swings (which we had clamped in the picture as they were a little compressed from the box. Under the tower we will be adding a sandbox and small "ball tent" area.
|
|
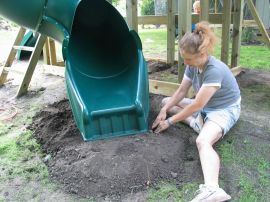
More finish work668 viewsCathy works on the grade at the bottom of the Turbo Slide. One of the remaining tasks is to bring in a lot of mulch for safety to go under most of the area, and then reseed the rest of the area which was disturbed in all of the leveling efforts.
|
|
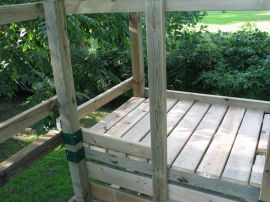
Upper deck650 viewsA view of the upper deck.
|
|
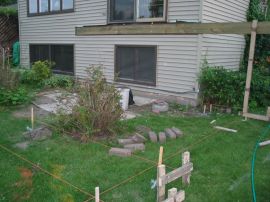
Ledger Board632 viewsThe new ledger board was then placed, so it could be used as a reference for the new footings.
|
|
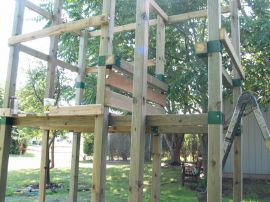
Starting the upper deck629 viewsWork proceeds to the upper deck. The timbers which support it are in place, and it's just about ready for the decking.
|
|
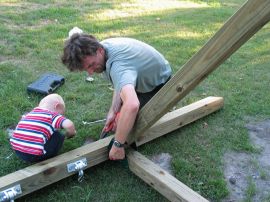
Attachment difficulties629 viewsTim has a minor difficulty getting the bolts lined up with the T-nuts on top the swing beam. William checked things out, offered his advice, and we were back on track.
|
|
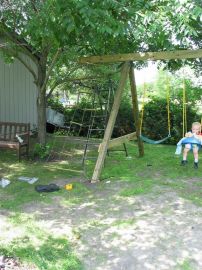
Cargo Net626 viewsAt the end of the swing beam is a cantilevered section that we were originally going to leave out because we didn't think we had the space. We ended up having space and left it in. Due to the proximity of the tree, we couldn't put in a disc or tire swing like the plans called for. At first we were going to just leave it 'blank' and reserve it for a future 2-person glider swing once more kids come along. But instead, we decided to make our own "cargo net" climber and attach it there in the meantime.
Aug 2011 update: This "temporary" cargo net became somewhat permanent. I had intended this to last 2 or 3 years and then put in the double-glider as mentioned above. But the kids really like this cargo net. Today it officially wore out, and rather than putting in a glider, I actually rebuilt it with new rope. It's hard to say if we'll ever get the glider at this point :)
|
|
| 133 files on 12 page(s) |
 |
 |
4 |  |
 |
 |
 |
 |
 |
 |
|
