| Last additions - Projects |
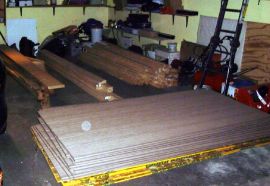
Building MaterialsHowever, the following weekend was our "framing blitz". We prepared for it Thursday by picking up a ton of building materials at Menards. Here is a photo of many of the building supplies sitting in our garage Thursday night. Sorry for the poor quality -- the digital camera we had at this time took lousy flash photos.Mar 31, 2008
|
|
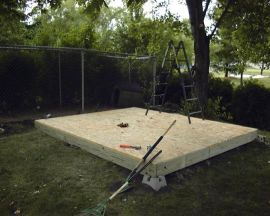
Finished FoundationThe finished foundation! The plywood went on very smoothly, and then we cleaned up the large piles of dirt excavated from under parts of the foundation. Finally, Tim got out the ladder to prune back some low-hanging tree branches in preparation for the rest of the building's construction. For the remainder of the week, we had a nice "raised wooden patio" as time commitments, as well as the weather, didn't allow us to get any further with building.
Mar 31, 2008
|
|
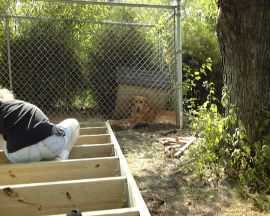
Shed Foundation with BaileyFraming itself for the foundation went quite smoothly, once we had the rim joists leveled and squared. In this picture, Cathy double-checks everything before we lay down the plywood on top, as Bailey looks on. The building is next to Bailey's outdoor run, but the run is plenty long so that it's not blocking much of his view.Mar 31, 2008
|
|
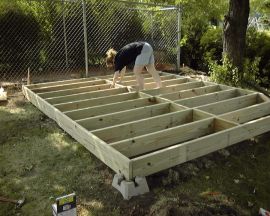
FoundationThe hardest part about the foundation was getting it all level. We laid out a level reference line over what we thought was level ground, but it ended up having about a 10" slope. Since we are building under several trees, height was a concern. We ended up excavating a lot of dirt to level out the site.
Mar 31, 2008
|
|
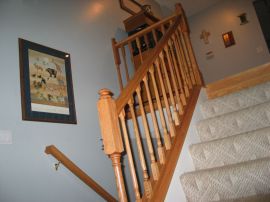
Completed rails after finishingThe view from the entry foyer. Here, you can also see the new oak railing leading downstairs. Since this picture was taken, we have replaced the carpeting you see here with new as well.Mar 30, 2008
|
|
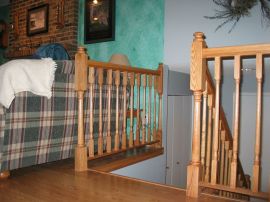
Completed rails after finishingAnother view from the top, looking at the other top railing.
Mar 30, 2008
|
|
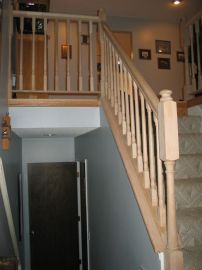
Completed rails before finishingAnother view of the completed railing. If you look carefully to the left of this picture, you will see the almond wrought-iron railing leading downstairs. This railing was also replaced, but not at the time this picture was taken.Mar 30, 2008
|
|
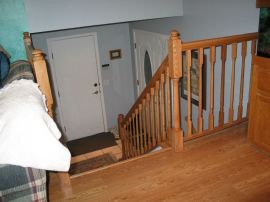
Completed rails after finishingThe finished view, from the top! We used a Minwax stain finish, which matched the color of our floors and related trim. Then we installed three coats of Minwax rub-on polyurethane. This was the first time we used rub-on poly, and we loved it. It was a joy to work with, especially with so many hard-to-reach surfaces to cover.Mar 30, 2008
|
|
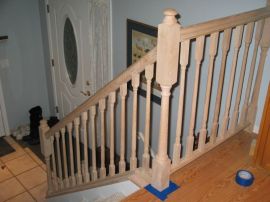
Completed rails before finishingThe completed railing system! This picture was taken right before the stain went on (hence the masking tape in the picture).
Mar 30, 2008
|
|
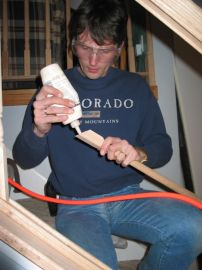
Gluing BallustersEach baluster was glued, then brad-nailed with a pneumatic nailer. Mar 30, 2008
|
|
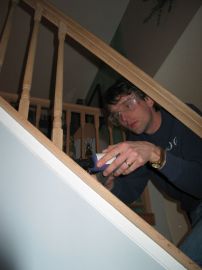
Angled BallustersHere Tim installs some of the balusters on the angled railing. Each baluster needed to be carefully miter-cut to the proper angle. As with the railings above, careful math and codes dictated the spacing between baluster spindles.
Mar 30, 2008
|
|
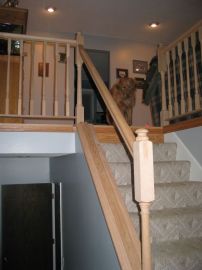
Angled handrail in placeHere's a view from the entryway of the installed upper railing. We were quite relieved to have this piece installed properly!
Mar 30, 2008
|
|
| 133 files on 12 page(s) |
 |
 |
 |
 |
6 |  |
 |
 |
 |
 |
|
