| Last additions - William's Playground (2006) |
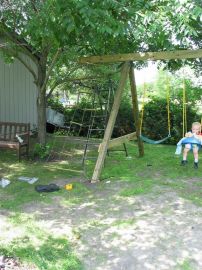
Cargo NetAt the end of the swing beam is a cantilevered section that we were originally going to leave out because we didn't think we had the space. We ended up having space and left it in. Due to the proximity of the tree, we couldn't put in a disc or tire swing like the plans called for. At first we were going to just leave it 'blank' and reserve it for a future 2-person glider swing once more kids come along. But instead, we decided to make our own "cargo net" climber and attach it there in the meantime.
Aug 2011 update: This "temporary" cargo net became somewhat permanent. I had intended this to last 2 or 3 years and then put in the double-glider as mentioned above. But the kids really like this cargo net. Today it officially wore out, and rather than putting in a glider, I actually rebuilt it with new rope. It's hard to say if we'll ever get the glider at this point :) Aug 05, 2006
|
|
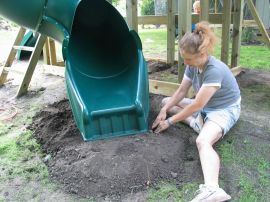
More finish workCathy works on the grade at the bottom of the Turbo Slide. One of the remaining tasks is to bring in a lot of mulch for safety to go under most of the area, and then reseed the rest of the area which was disturbed in all of the leveling efforts.Aug 05, 2006
|
|
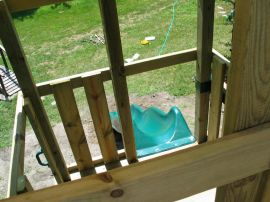
View from "the penthouse"Here's the bird's eye view from the top deck. To the left of the camera is the entrance for the turbo slide, and behind the camera is the rock wall.Aug 05, 2006
|
|
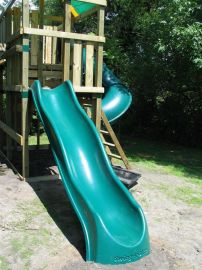
Wave SlideIn the front is the smaller wave slide. It has a bump in the middle which makes it quite fun-- even for adults!Aug 05, 2006
|
|
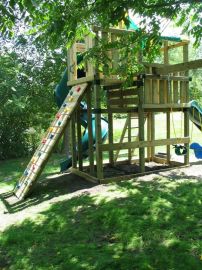
Back sideView from the back, showing the rock wall and swings (which we had clamped in the picture as they were a little compressed from the box. Under the tower we will be adding a sandbox and small "ball tent" area.Aug 05, 2006
|
|
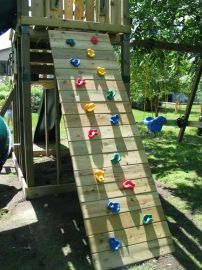
Rock WallOn the back of the playground is the 7' rock wall. After this picture was taken we added a knotted rope to aid in the climb. William will have to grow into this one a bit. Aug 05, 2006
|
|
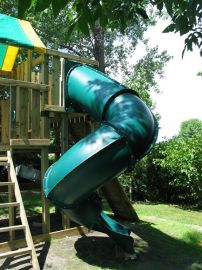
Turbo Tube SlideThe Tube Slide is the highlight of this playground. As a relatively expensive option, we were going to leave it off, hoping to add it "someday" but then decided that this, unlike several of the other parts of the playground, was something William could use NOW and we'd get more value out of it just by adding it from the start. It assembled together with something like a million bolts, nuts, and washers. Thank goodness for air ratchets... In this picture, we hadn't yet finished the bottom of the slide so it's just resting on boards.Aug 05, 2006
|
|
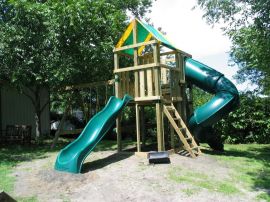
Almost completeWell, this is the part of the project we sort of forgot to take pictures since we were on a roll. At the time the next few pictures were taken, we were very close to complete. Here you can see an overview of the entire playground.Aug 05, 2006
|
|
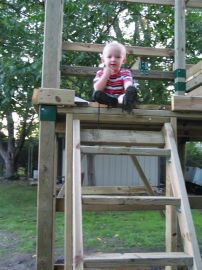
Checking things outWilliam sits at the top of the newly-placed ladder. As we were lifting the ladder into position, and before we attached it, William wasted no time in scampering halfway up the ladder as we held it before we could stop him and get him to wait!Aug 05, 2006
|
|
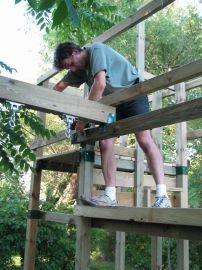
Beam me upTim attaches the other end of the swing beam to the fort.Aug 05, 2006
|
|
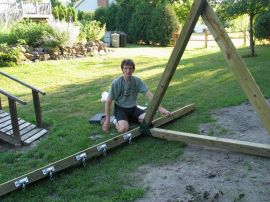
Beam complete!The A-frame and swing beam are now one unit!Aug 05, 2006
|
|
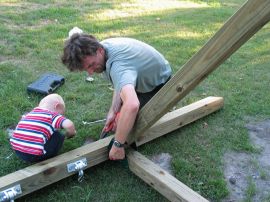
Attachment difficultiesTim has a minor difficulty getting the bolts lined up with the T-nuts on top the swing beam. William checked things out, offered his advice, and we were back on track.Aug 05, 2006
|
|
|
|
