William's Playground (2006)
|
|
|
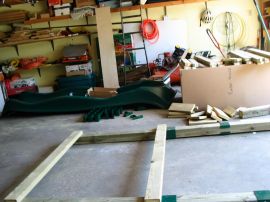
Starting outWe started on a rainy Tuesday, fortunately mostly working in the garage. The plans gave a detailed "cut list" and we cut out and labeled all the pieces, as well as rounded over the edges with a router for safety. In this picture, you can see one of the framing pieces after assembly, some of the smaller cut-outs, and the slide. The huge box is the "Turbo Slide", which you'll see coming up.
|
|
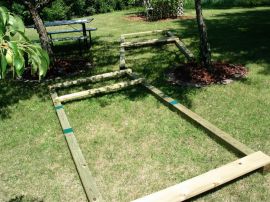
Two more framesWe set the frames outside after each was built to free up room in the garage. The Timber Bilt kits actually go up pretty easy. They have a unique bracket system for piecing together the larger timbers, and most of the rest of the assembly is done with some special lag screws and coated deck screws.
|
|
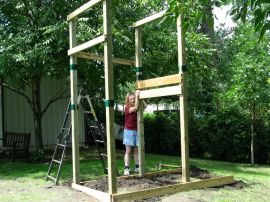
Starting the major assemblyWe continued outside on Wednesday afternoon. Cathy holds up "frame two" so it can be attached to "frame one" and the base. Before this whole project started, we had to do some semi-major leveling of the area, since it was on a gradual slope down toward our pond (most of our yard is sloping in some way).
|
|
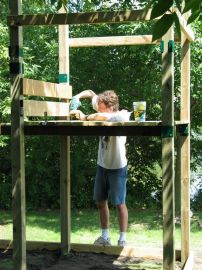
Adding the lower deckAt this point, the three major frames were all installed, and Tim works on adding the decking for the lower deck. The special green brackets are in use here -- on the right side just under the lower deck you can see two in use (the others are still waiting to be used).
|
|
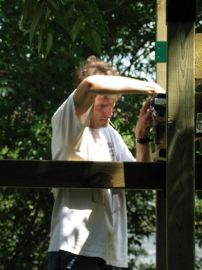
Finishing up the lower deckSome final touches on the lower deck boards.
|
|
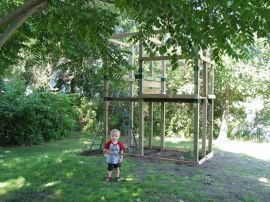
William checks out the situationIn the foreground, William poses with great anticipation of his new playground. In the background, you can see the status at this point-- most of the lower deck is now complete, except for the "barrier boards" which make up the railings.
|
|
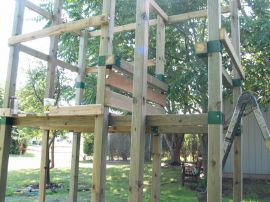
Starting the upper deckWork proceeds to the upper deck. The timbers which support it are in place, and it's just about ready for the decking.
|
|
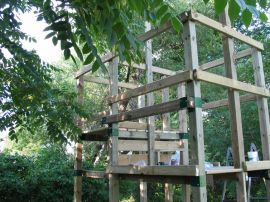
Done for WednesdayHere's the status of things at the end of our workday Wednesday: The upper decking is in, and the railings are all complete except for the barrier boards. The 4x4 timber is in place in the foreground of the picture-- it will be used to support the swing beam on the fort side. Things are coming along pretty smoothly.
|
|
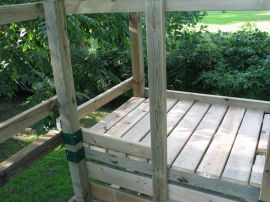
Upper deckA view of the upper deck.
|
|
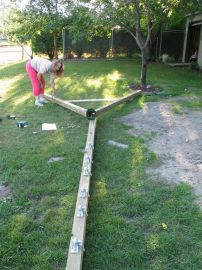
Swing BeamOn Thursday, we continued on by working on the swing beam. In the garage, we assembled the "A-frame" for the end support, as well as drilled all the holes through the timber and attached the swing hangers. Here, at the playground site, Cathy checks out the frame right as we get ready to attach it to the beam.
|
|
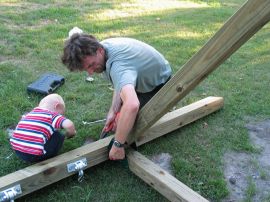
Attachment difficultiesTim has a minor difficulty getting the bolts lined up with the T-nuts on top the swing beam. William checked things out, offered his advice, and we were back on track.
|
|
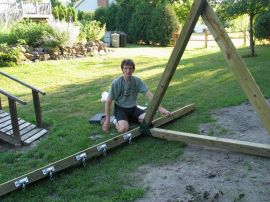
Beam complete!The A-frame and swing beam are now one unit!
|
|
|
|
