Kid's Garage and Workshop (2008)
|
|
|
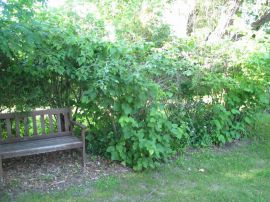
The "before" pic.At first we weren't sure where we'd put the 'garage' in our yard. Then Cathy spotted this particular spot -- nothing but overgrown vines and shrubs, next to an old bench that we moved there when we built the kid's play center. Doesn't look like much but it was a surprising amount of room...
|
|
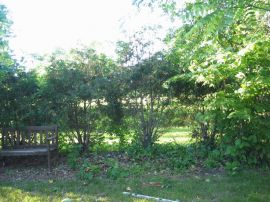
Brush cleared...after we cleared out all the brush. This pic was taken after we took out enough brush to "prove the concept" that the garage could really go here. We later cleaned it up even more before we put the building in place.
|
|
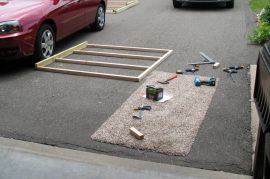
Walls being builtWe started building the garage on the driveway. This picture was taken while working on the walls. We used a pressure-treated 2x4 sole plate which will rest directly on the ground, and 2x2's for the wall framing. 2x2's were used to help keep weight and costs down, and becuase they should be more than sufficient for this use.
|
|
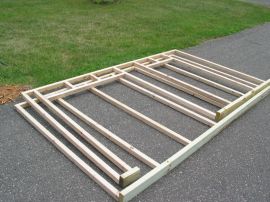
Front and back wallsThe front and back walls, waiting to be used...
|
|
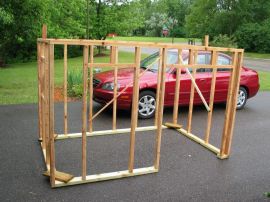
Walls assembled...In this pic, you can see we got the four walls assembled together and temporarily braced. Everything looks darker in this pic because a brief, surprise rain shower made everything damp...
|
|
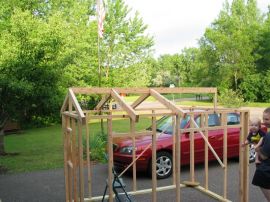
Roof framingHere you can see the roof framing in progress. We used 2x4's for the roof, to give it more strength.
|
|
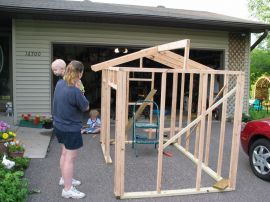
Checking out the progressCathy and Andrew check out the progress, as William plays in the background with his toy tools.
|
|
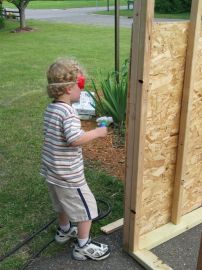
Helping HandWilliam offers a hand with his toy hammer as we're nailing on the wall sheathing.
|
|
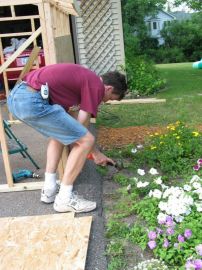
Tim HammersTim hammers on the wall sheathing from the other side.
|
|
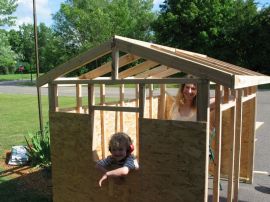
Window!William was worried when we covered up his window with sheathing, but was happy again once we cut it back out.
|
|
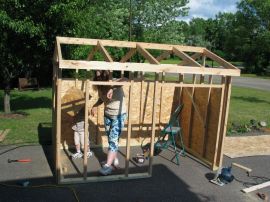
Walls progressParts of three sides of the sheathing are now done in this picture...
|
|
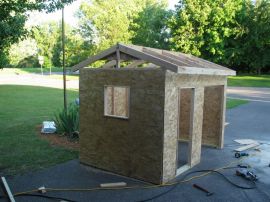
Front completeThe front sheathing is now complete, windows and small door have been trimmed out, etc. Next the gables will be done.
|
|
|
|
