| Top rated - Our Home |
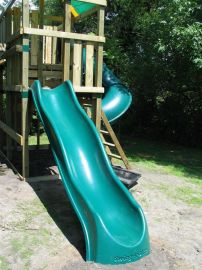
Wave SlideIn the front is the smaller wave slide. It has a bump in the middle which makes it quite fun-- even for adults!    
(2 votes)
|
|
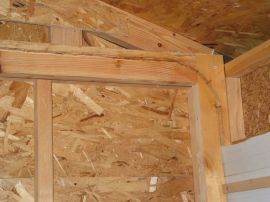
Close-up of door track    
(1 votes)
|
|
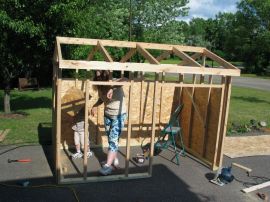
Walls progressParts of three sides of the sheathing are now done in this picture...    
(1 votes)
|
|
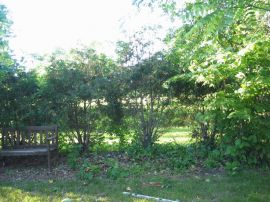
Brush cleared...after we cleared out all the brush. This pic was taken after we took out enough brush to "prove the concept" that the garage could really go here. We later cleaned it up even more before we put the building in place.    
(1 votes)
|
|
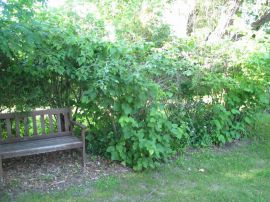
The "before" pic.At first we weren't sure where we'd put the 'garage' in our yard. Then Cathy spotted this particular spot -- nothing but overgrown vines and shrubs, next to an old bench that we moved there when we built the kid's play center. Doesn't look like much but it was a surprising amount of room...    
(1 votes)
|
|
|
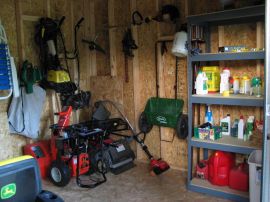
Inside the ShedOne last view of the shed, this time looking to the right of the tractor. This shed freed up some much-needed storage space in the garage, and we are able to easily get to all the tools and equipment now.     
(1 votes)
|
|
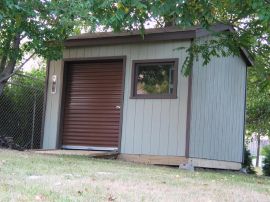
Finished ProductThe final step was to paint all of the trim dark brown, again to match the trim on our home. Here, you see a view of the finished shed!    
(1 votes)
|
|
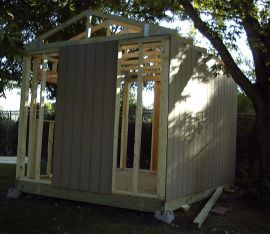
Siding StartedThe next two days (Sunday and Monday) we were able to get some of the siding hung. The siding we're using is some nice quality 4x8 plywood siding which looks like 8" boards hung vertically. One nice thing about this type of siding is that it serves as both the sheathing and the siding, so it means less work. This picture shows the back of the shed fully sided, and the two sides partially sided.
    
(1 votes)
|
|
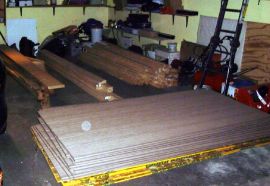
Building MaterialsHowever, the following weekend was our "framing blitz". We prepared for it Thursday by picking up a ton of building materials at Menards. Here is a photo of many of the building supplies sitting in our garage Thursday night. Sorry for the poor quality -- the digital camera we had at this time took lousy flash photos.    
(1 votes)
|
|
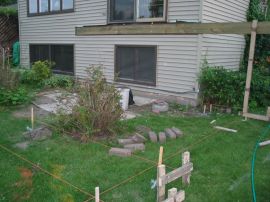
Ledger BoardThe new ledger board was then placed, so it could be used as a reference for the new footings.    
(1 votes)
|
|
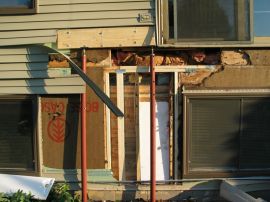
Rot repairAfter some research we supported the joist, rebuilt the wall below, and patched in a new section of joist.    
(1 votes)
|
|
| 50 files on 5 page(s) |
 |
3 |  |
|
