| Top rated - Our Home |
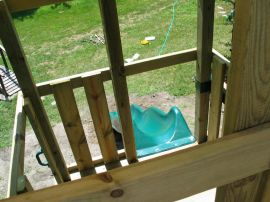
View from "the penthouse"Here's the bird's eye view from the top deck. To the left of the camera is the entrance for the turbo slide, and behind the camera is the rock wall.    
(2 votes)
|
|
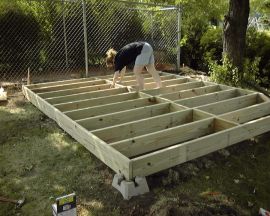
FoundationThe hardest part about the foundation was getting it all level. We laid out a level reference line over what we thought was level ground, but it ended up having about a 10" slope. Since we are building under several trees, height was a concern. We ended up excavating a lot of dirt to level out the site.
    
(7 votes)
|
|
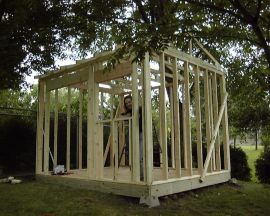
Framing FinishedWe didn't pause to take any other photos-- this one shows where we stopped for the day when rain started falling. The front of the building will have a roll-up door and a window (being demonstrated by Cathy). We made good progress before the rain-- getting all the walls framed and trusses up and temporarily braced.
    
(1 votes)
|
|
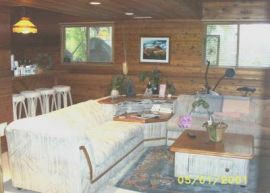
Previous Owner's Family RoomHere is a picture of the room as the previous owner had it set up. We liked the sectional idea which is why we purchased our own.     
(1 votes)
|
|
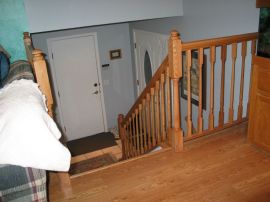
Oak RailingsHere is a view of our new oak railing that we finished installing in March 2004. We have many more pictures of this project in the 'projects' section of this website.    
(1 votes)
|
|
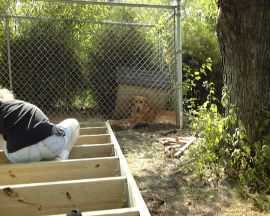
Shed Foundation with BaileyFraming itself for the foundation went quite smoothly, once we had the rim joists leveled and squared. In this picture, Cathy double-checks everything before we lay down the plywood on top, as Bailey looks on. The building is next to Bailey's outdoor run, but the run is plenty long so that it's not blocking much of his view.    
(3 votes)
|
|
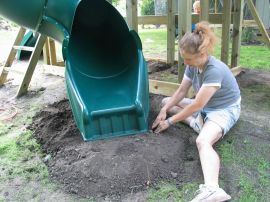
More finish workCathy works on the grade at the bottom of the Turbo Slide. One of the remaining tasks is to bring in a lot of mulch for safety to go under most of the area, and then reseed the rest of the area which was disturbed in all of the leveling efforts.    
(2 votes)
|
|
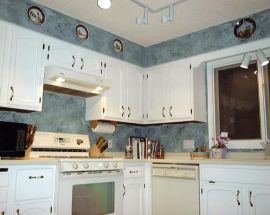
KitchenWe did some major redecorating in the kitchen, using green/gray faux-finish look, and changing the cabinets to white. We also added some new lighting, as the previous didn't light the room well. The kitchen has enough room for a small tableas well. After this picture was taken, we replaced the range hood with an over-the-range microwave, and added new blinds on the window.
    
(2 votes)
|
|
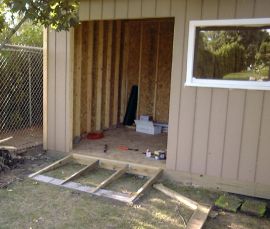
Ramp StringersThe next step was to install the stringers. We used four, ripping them at the appropriate angle, and hooking them onto a 2x6 ledger board lag-screwed into the shed. The ends of the stringers are secured into the patio blocks with Tapcon screws. By the way, notice the window trim is white -- we have partially completed priming the trim, but have a ways to go. Eventually this trim will be dark brown.
    
(3 votes)
|
|
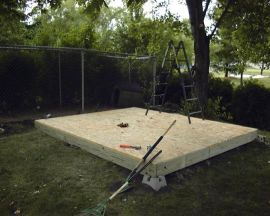
Finished FoundationThe finished foundation! The plywood went on very smoothly, and then we cleaned up the large piles of dirt excavated from under parts of the foundation. Finally, Tim got out the ladder to prune back some low-hanging tree branches in preparation for the rest of the building's construction. For the remainder of the week, we had a nice "raised wooden patio" as time commitments, as well as the weather, didn't allow us to get any further with building.
    
(3 votes)
|
|
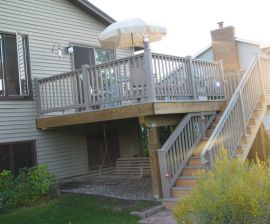
Completed DeckCompleted deck, post-past-inspection!    
(2 votes)
|
|
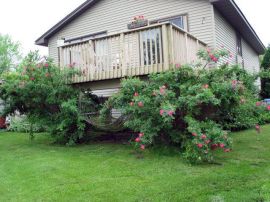
The Old DeckThe last picture we took of the old deck before it was demolished. The rose bushes, which had just flowered, were cut back and later moved to the side of the house, where they are doing well.    
(2 votes)
|
|
| 50 files on 5 page(s) |
2 |  |
 |
|
