| Most viewed - Our Home |
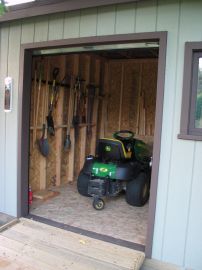
Insidethe Shed827 viewsHere's a view with the door open. We added some hanging storage for long-handled tools to the left of the tractor. Eventually we will add shelving in front of the tractor as well.
|
|
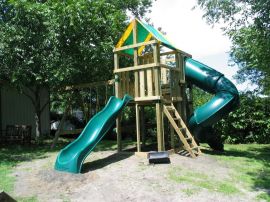
Almost complete825 viewsWell, this is the part of the project we sort of forgot to take pictures since we were on a roll. At the time the next few pictures were taken, we were very close to complete. Here you can see an overview of the entire playground.
|
|
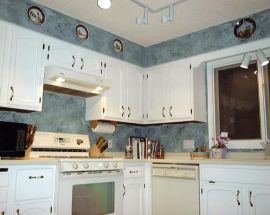
Kitchen807 viewsWe did some major redecorating in the kitchen, using green/gray faux-finish look, and changing the cabinets to white. We also added some new lighting, as the previous didn't light the room well. The kitchen has enough room for a small tableas well. After this picture was taken, we replaced the range hood with an over-the-range microwave, and added new blinds on the window.
|
|
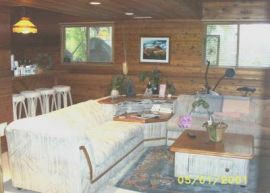
Previous Owner's Family Room795 viewsHere is a picture of the room as the previous owner had it set up. We liked the sectional idea which is why we purchased our own.
|
|
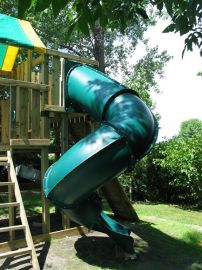
Turbo Tube Slide758 viewsThe Tube Slide is the highlight of this playground. As a relatively expensive option, we were going to leave it off, hoping to add it "someday" but then decided that this, unlike several of the other parts of the playground, was something William could use NOW and we'd get more value out of it just by adding it from the start. It assembled together with something like a million bolts, nuts, and washers. Thank goodness for air ratchets... In this picture, we hadn't yet finished the bottom of the slide so it's just resting on boards.
|
|
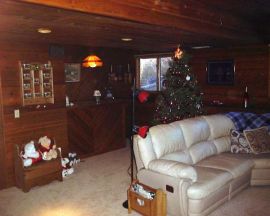
Family Room753 viewsAnother view of our family room. The wet bar is in the back corner. The cedar walls also extend to the lower hallway and bathroom, giving this area a distinct and casual feel as compared to the upstairs.
|
|
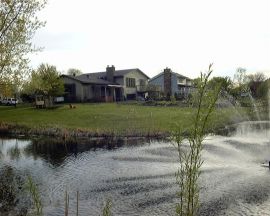
743 viewsAnother view of the pond, with the fountain and part of our back yard.
|
|
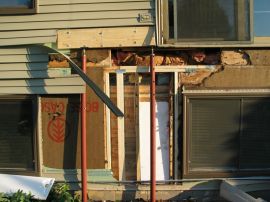
Rot repair740 viewsAfter some research we supported the joist, rebuilt the wall below, and patched in a new section of joist.
|
|
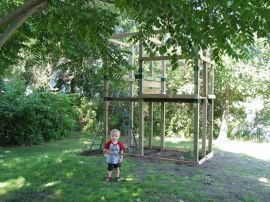
William checks out the situation710 viewsIn the foreground, William poses with great anticipation of his new playground. In the background, you can see the status at this point-- most of the lower deck is now complete, except for the "barrier boards" which make up the railings.
|
|
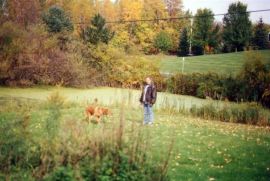
Back Yard702 viewsA view of part of our back yard, with Cathy and Bailey still playing. By late fall when this picture was taken, our pond (in the background) had obtained a bright green coating. Starting in 2003 we retained a pond service to help with this condition and keep the pond in better shape.
|
|
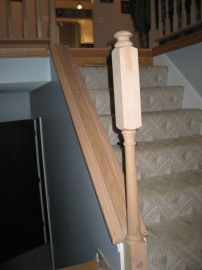
Work on Main Railing701 viewsNext work began on the angled railing. First, the bottom newel post was cut to length and installed with lag screws into the framing of the stairway. Next, a new oak board was ripped to proper width, and mitered to fit over the top of the stairway framing. Finally, the bottom shoe rail was installed on top of this board.
|
|
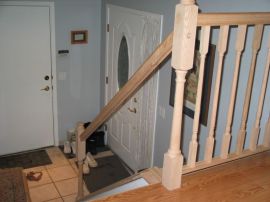
696 viewsInstalling the upper railing proved to be tricky. Getting the length and miter cuts just right required a lot of careful measuring. We practiced with a 2x4 stud and thought we had the technique down. However, we messed up, cutting one of the miters the wrong direction. Since this rail is $6.60/linear foot, we thought this was going to be an expensive mistake. Fortunately, Home Depot gave us credit for the remaining length, so we were only out one foot, and did it correctly with the replacement rail.
|
|
| 160 files on 14 page(s) |
 |
 |
4 |  |
 |
 |
 |
 |
 |
 |
 |
 |
|
