| Last additions - Our Home |
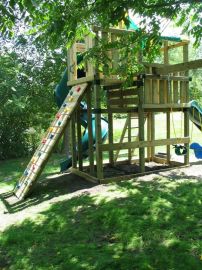
Back sideView from the back, showing the rock wall and swings (which we had clamped in the picture as they were a little compressed from the box. Under the tower we will be adding a sandbox and small "ball tent" area.Aug 05, 2006
|
|
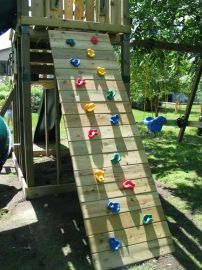
Rock WallOn the back of the playground is the 7' rock wall. After this picture was taken we added a knotted rope to aid in the climb. William will have to grow into this one a bit. Aug 05, 2006
|
|
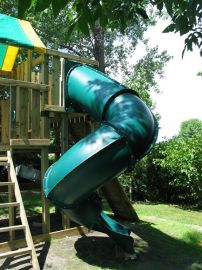
Turbo Tube SlideThe Tube Slide is the highlight of this playground. As a relatively expensive option, we were going to leave it off, hoping to add it "someday" but then decided that this, unlike several of the other parts of the playground, was something William could use NOW and we'd get more value out of it just by adding it from the start. It assembled together with something like a million bolts, nuts, and washers. Thank goodness for air ratchets... In this picture, we hadn't yet finished the bottom of the slide so it's just resting on boards.Aug 05, 2006
|
|
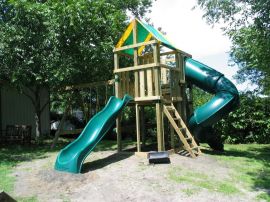
Almost completeWell, this is the part of the project we sort of forgot to take pictures since we were on a roll. At the time the next few pictures were taken, we were very close to complete. Here you can see an overview of the entire playground.Aug 05, 2006
|
|
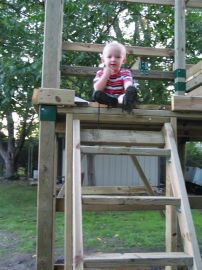
Checking things outWilliam sits at the top of the newly-placed ladder. As we were lifting the ladder into position, and before we attached it, William wasted no time in scampering halfway up the ladder as we held it before we could stop him and get him to wait!Aug 05, 2006
|
|
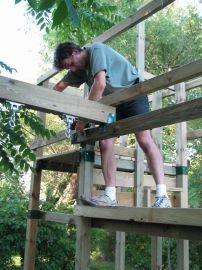
Beam me upTim attaches the other end of the swing beam to the fort.Aug 05, 2006
|
|
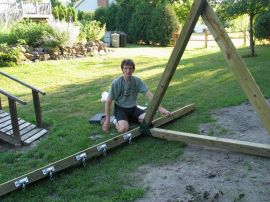
Beam complete!The A-frame and swing beam are now one unit!Aug 05, 2006
|
|
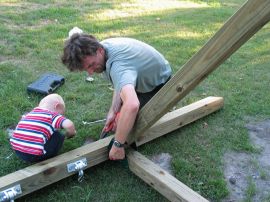
Attachment difficultiesTim has a minor difficulty getting the bolts lined up with the T-nuts on top the swing beam. William checked things out, offered his advice, and we were back on track.Aug 05, 2006
|
|
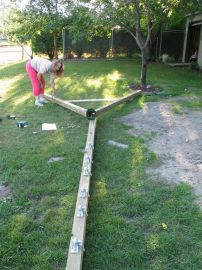
Swing BeamOn Thursday, we continued on by working on the swing beam. In the garage, we assembled the "A-frame" for the end support, as well as drilled all the holes through the timber and attached the swing hangers. Here, at the playground site, Cathy checks out the frame right as we get ready to attach it to the beam.Aug 05, 2006
|
|
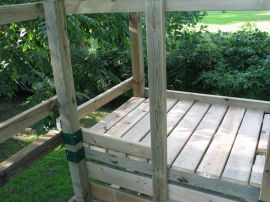
Upper deckA view of the upper deck. Aug 05, 2006
|
|
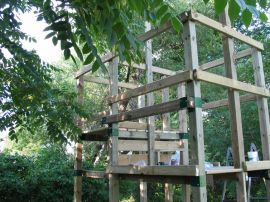
Done for WednesdayHere's the status of things at the end of our workday Wednesday: The upper decking is in, and the railings are all complete except for the barrier boards. The 4x4 timber is in place in the foreground of the picture-- it will be used to support the swing beam on the fort side. Things are coming along pretty smoothly.Aug 05, 2006
|
|
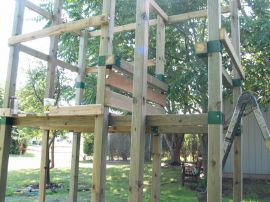
Starting the upper deckWork proceeds to the upper deck. The timbers which support it are in place, and it's just about ready for the decking.Aug 05, 2006
|
|
| 160 files on 14 page(s) |
 |
 |
 |
 |
 |
 |
 |
 |
 |
11 |  |
 |
|
